With just a few simple ingredients, you can create your very own Sourdough Starter, the foundation of countless delicious homemade bread recipes. This natural leavening agent is not only easy to make but also enhances the flavor and texture of your baked goods. Perfect for any occasion, from casual family dinners to impressive gatherings, a homemade sourdough starter will elevate your bread-making game and impress your friends and family.
Why You’ll Love This Recipe
- Easy to Make: With just flour and water, this recipe requires minimal effort.
- Rich Flavor: A sourdough starter adds a unique tangy taste that elevates any bread.
- Versatile Use: Perfect for various recipes beyond bread, like pancakes or waffles.
- Healthy Option: Fermented dough may improve digestibility and nutritional value.
- Cost-Effective: Save money by making your own starter instead of buying store-bought.
Tools and Preparation
Before you begin, gather the necessary tools to ensure a smooth process. Having the right equipment makes creating your sourdough starter easier and more enjoyable.
Essential Tools and Equipment
- glass jar
- paper towel
- rubber band
Importance of Each Tool
- Glass jar: Allows you to see the fermentation process while being non-reactive with ingredients.
- Paper towel: Keeps dust out while allowing air circulation, essential for fermentation.
- Rubber band: Helps mark the level of the mixture, so you can easily track its growth.
Ingredients
With just water and flour, you can make your own sourdough starter for all your homemade bread recipes!
For Your Sourdough Starter
- ½ cup flour, (whole wheat or unbleached all-purpose)
- ¼-⅓ cup water, (75°F is ideal)
- 1 glass jar, (or bowl (about 32 ounces))
- 1 paper towel
- 1 rubber band
How to Make Sourdough Starter
Step 1: Combine Ingredients
In your glass jar, mix together the ½ cup flour with ¼-⅓ cup water. Stir until there are no dry spots left.
Step 2: Cover the Jar
Place a paper towel over the top of the jar. Secure it in place with a rubber band. This keeps contaminants out while allowing air flow for fermentation.
Step 3: Let It Rest
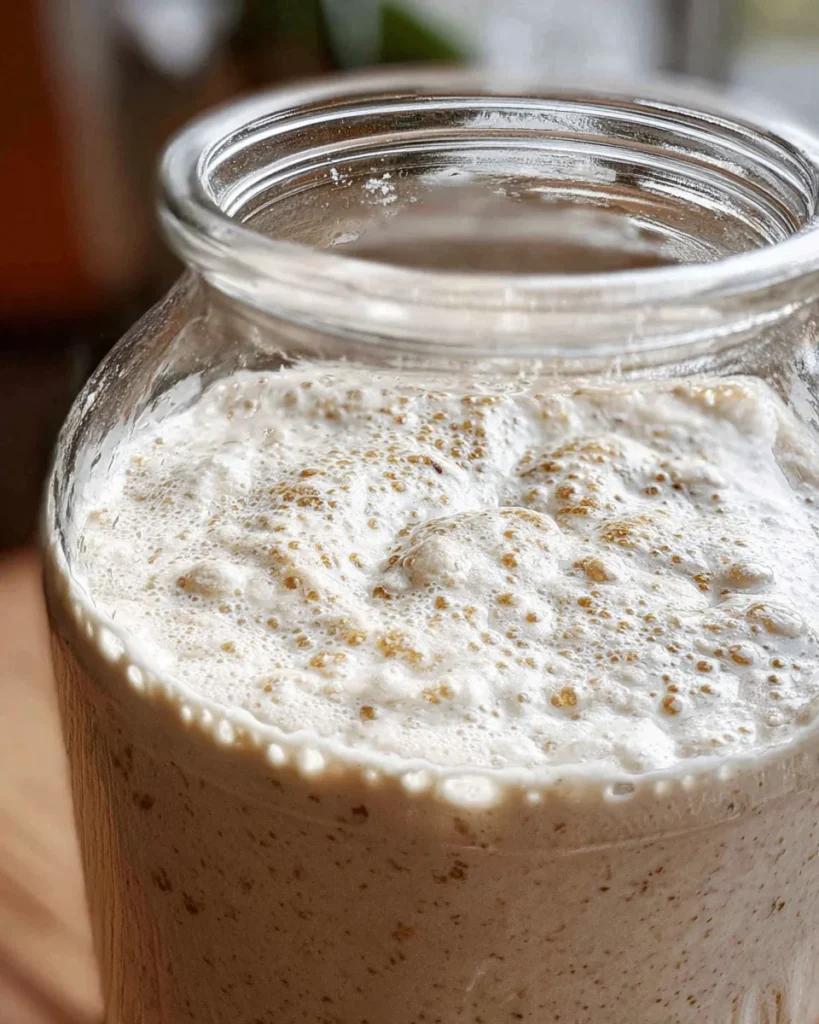
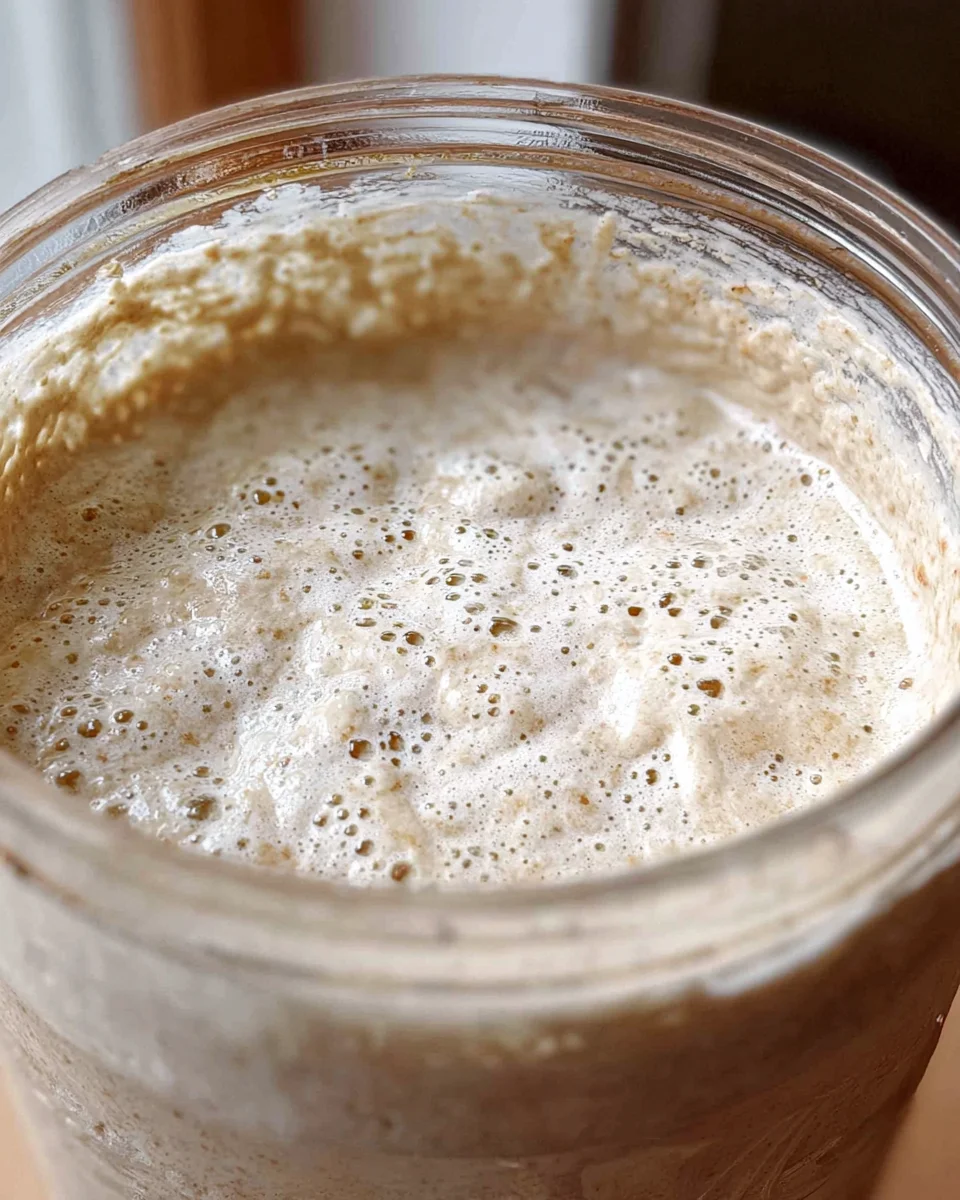
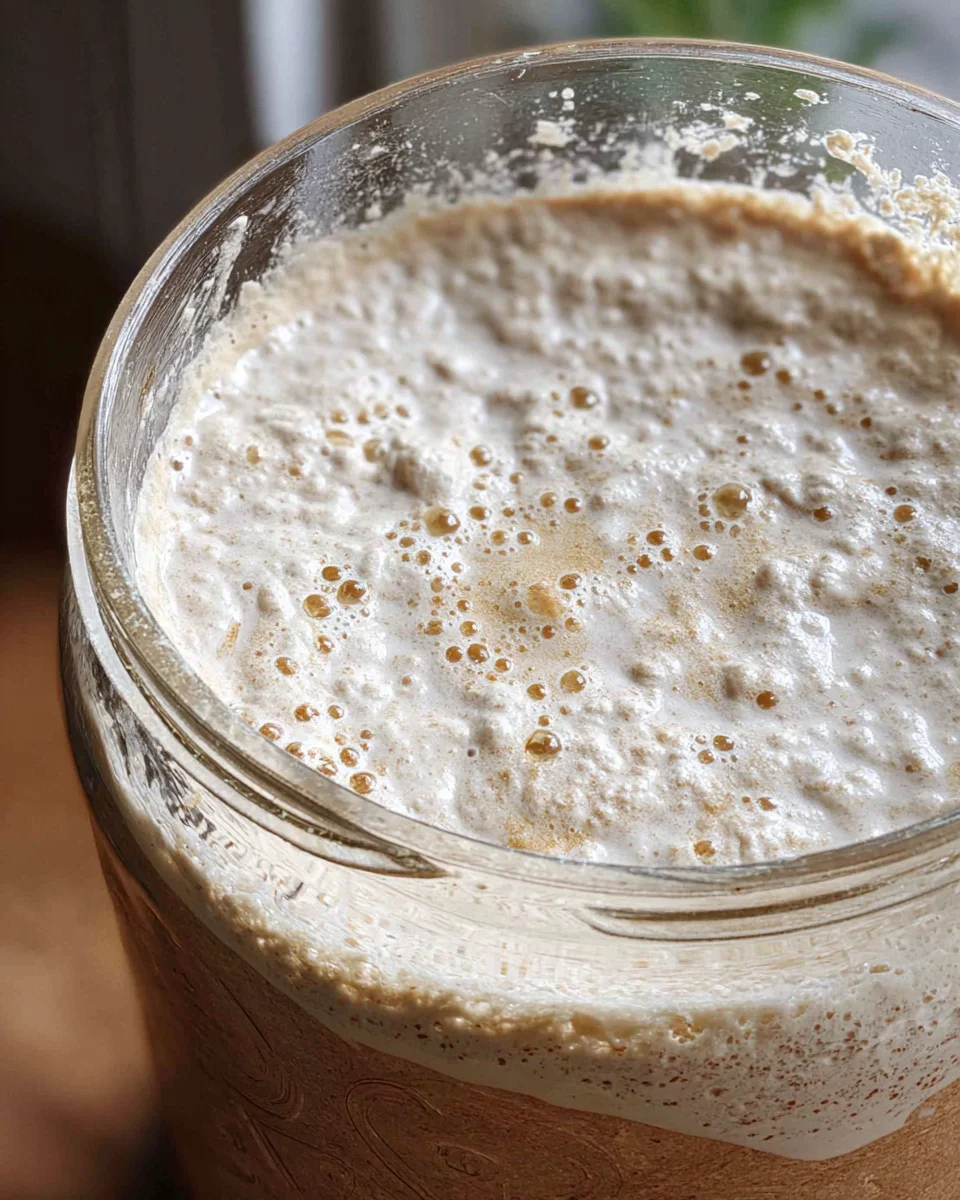
Leave the jar in a warm spot (around 75°F) for 24 hours. Check for bubbles; this indicates that fermentation is starting.
Step 4: Feed Your Starter
After 24 hours, discard half of the mixture. Add another ½ cup flour and ¼-⅓ cup water, mixing well. Cover again with a paper towel.
Step 5: Repeat Daily
Continue feeding your starter daily for about a week. You’ll see more bubbles and it will increase in volume.
Step 6: Ready to Use
After about one week, when your starter has doubled in size within a few hours of feeding and has a pleasant sour smell, it’s ready for baking!
How to Serve Sourdough Starter
Sourdough starter is a versatile ingredient that can enhance numerous dishes. Here are some creative ways to serve and enjoy your homemade sourdough starter.
Use in Sourdough Bread
- This is the most common use. Just combine your sourdough starter with flour, water, and salt for a delightful loaf.
Incorporate into Pancakes
- Add a scoop of sourdough starter to pancake batter for extra fluffiness and flavor.
Make Sourdough Pizza Dough
- For a unique twist on pizza night, use sourdough starter in your pizza dough for a chewy crust.
Create Sourdough Crackers
- Mix sourdough starter with herbs and spices to bake crispy crackers perfect for snacking.
Prepare Sourdough Waffles
- Blend it into waffle batter for a deliciously tangy breakfast treat that pairs well with syrup.
Experiment with Muffins
- Use sourdough starter in muffin recipes to add moisture and a hint of sourness to sweet treats.
How to Perfect Sourdough Starter
Perfecting your sourdough starter takes time and care. Here are some essential tips to ensure your starter thrives.
- Feed Regularly: Consistency is key. Feed your sourdough starter every 12 hours for optimal growth.
- Use the Right Flour: Whole wheat or unbleached all-purpose flour works best as they contain more nutrients.
- Maintain Ideal Temperature: Keep your starter at around 75°F for the best fermentation results.
- Monitor Bubbles: Look for bubbles in the mixture; they indicate active fermentation and readiness to use.
- Smell Test: A pleasant tangy aroma means your starter is healthy; if it smells off, discard it.
- Be Patient: It can take up to two weeks for your sourdough starter to fully develop; patience pays off!
Best Side Dishes for Sourdough Starter
Sourdough starter pairs well with many side dishes, making them even more enjoyable. Here are some great side options that complement your main course beautifully.
- Garlic Herb Roasted Potatoes: Crispy potatoes seasoned with garlic and herbs make a perfect pair with sourdough bread.
- Mixed Green Salad: Fresh greens tossed with a light vinaigrette balance the richness of sourdough dishes.
- Creamy Tomato Soup: This classic comfort food is ideal for dipping slices of crusty sourdough bread.
- Bruschetta Topping: Top toasted slices of sourdough with tomatoes, basil, and balsamic glaze for an appetizer.
- Sauteed Seasonal Vegetables: Lightly sauté seasonal veggies provide a colorful side that complements the hearty flavor of bread.
- Cheesy Garlic Breadsticks: Serve these warm alongside pasta or salads for an indulgent treat that pairs perfectly with any meal.
Common Mistakes to Avoid
Making your own sourdough starter can be a rewarding experience, but there are some common pitfalls to watch out for.
- Ignoring temperature: The ideal water temperature is around 75°F. Using water that is too hot or cold can hinder the fermentation process.
- Using the wrong flour: Not all flours work well for sourdough starters. Stick to whole wheat or unbleached all-purpose flour for the best results.
- Neglecting feeding schedule: Regularly feed your starter every 24 hours to keep it active and bubbly. Skipping feedings can slow down fermentation.
- Sealing the jar tightly: Allow air to flow in by covering the jar with a paper towel secured with a rubber band. This promotes healthy fermentation.
- Not monitoring bubbles: Look for bubbles in your starter as a sign of activity. If you don’t see any, it may need more time or a change in feeding.
Storage & Reheating Instructions
Refrigerator Storage
- Store your sourdough starter in a glass jar with a loose cover.
- It can last up to two weeks in the fridge without feeding.
- If you don’t plan to use it for an extended period, consider feeding and freezing.
Freezing Sourdough Starter
- Place your starter in an airtight container before freezing.
- It can be frozen for up to three months without losing its potency.
- Make sure to label the container with the date for easy tracking.
Reheating Sourdough Starter
- Oven: Preheat your oven to 200°F, then turn it off. Place the starter inside for gentle warmth while it wakes up.
- Microwave: Use short bursts (5-10 seconds) on low power to avoid cooking the starter. Monitor closely.
- Stovetop: Gently warm water and place the jar in it (double boiler method) until it reaches room temperature.
Frequently Asked Questions
What is a Sourdough Starter?
A sourdough starter is a mixture of flour and water that captures wild yeast and bacteria from the environment. This natural fermentation creates leavening for bread.
How do I know my Sourdough Starter is ready?
Your sourdough starter is ready when it doubles in size within 4-6 hours after feeding and has plenty of bubbles on the surface.
Can I use whole wheat flour for my Sourdough Starter?
Yes, whole wheat flour works great as it provides more nutrients for the yeast compared to white flour.
How often should I feed my Sourdough Starter?
Feed your sourdough starter at least once every 24 hours if kept at room temperature. If refrigerated, you can feed it every week or two.
What should I do if my Sourdough Starter develops a layer of liquid?
This liquid, known as hooch, indicates that your starter is hungry. Simply pour off the hooch and feed as usual.
Final Thoughts
Creating your own sourdough starter opens up a world of homemade bread possibilities! This versatile recipe allows you to customize flavors and experiment with different types of flour. Enjoy the journey of baking with your very own sourdough starter!
Sourdough Starter
Create your very own Sourdough Starter, a simple yet transformative foundation for a variety of delicious homemade breads. With just flour and water, you can harness the power of wild yeast to cultivate a tangy, flavorful starter that enhances the aroma and texture of your baked goods. Perfect for family dinners or special gatherings, this natural leavening agent will elevate your bread-making skills and impress everyone at the table. Follow this straightforward guide to embark on your sourdough journey today!
- Prep Time: 10 minutes
- Cook Time: N/A
- Total Time: 0 hours
- Yield: Approximately one active sourdough starter ready for baking. 1x
- Category: Baking
- Method: Fermentation
- Cuisine: Homemade
Ingredients
- ½ cup flour (whole wheat or unbleached all-purpose)
- ¼-⅓ cup water (at 75°F)
- 1 glass jar (32 ounces)
- 1 paper towel
- 1 rubber band
Instructions
- In a glass jar, combine ½ cup flour with ¼-⅓ cup water, stirring until no dry spots remain.
- Cover the jar with a paper towel and secure it with a rubber band to allow air flow while keeping contaminants out.
- Leave the mixture in a warm spot (around 75°F) for 24 hours. Check for bubbles indicating fermentation has begun.
- Discard half of the mixture and add another ½ cup flour and ¼-⅓ cup water, mixing well and covering again.
- Repeat the feeding process daily for about a week until your starter doubles in size within hours of feeding and has a pleasant sour aroma.
Nutrition
- Serving Size: Approx. 30g
- Calories: 70
- Sugar: 0g
- Sodium: 0mg
- Fat: 0g
- Saturated Fat: 0g
- Unsaturated Fat: 0g
- Trans Fat: 0g
- Carbohydrates: 15g
- Fiber: 1g
- Protein: 2g
- Cholesterol: 0mg